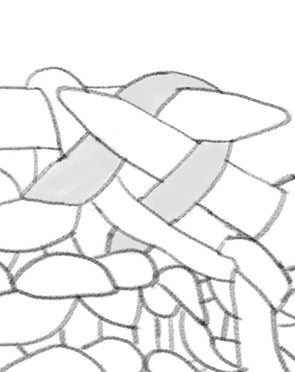
Sometimes slow and steady makes the prettiest of details. That’s certainly the case with the I-Cord Cast On. This cast on creates a beautifully rounded edge and a polished look you're sure to fall in love with. You can find this stunning technique at the top of the pockets in the Sarah cardigan and along the back neck, upper fronts, and the top of the pockets in the Zoe cardigan. We’ll be honest, it’s a bit time-consuming. But we promise, the final result is worth every minute.
For instructions on how to work an Invisible I-Cord Cast On around a corner or point (such as on the Milli Kerchief), click here.


Comments
Hi Hannah,
Julie has been working on this! She finds that if she does a lifted increase (KLL – see our tutorial) instead of the kfb, she can alleviate that looseness. Also, if it still seems loose, you can turn your work over and gently pull on the i-cord sts closest to the fabric on the back to tighten up the front sts, something that doesn’t work with the kfb. We have a tutorial about this coming in the next month or 2. Hope that helps!
Hello, do you have any suggestions for how not to get a really loose first row after the cast on? I’ve tried this a couple times and can’t get the next row to not be very loose. Thanks!
Hi Jo,
There are a couple of ways you could do this—use it as is and join in the round—leave a long tail so you can use it to seam the beginning to the end and hide the join. You could also do a provisional cast-on at the start of your I-cord cast-on and graft the beginning and end when you get there. Hope that helps!
Hi, how would this work for in the round knitting? I’m currently attempting to knit a tee by Knit Purl Girl who references your video but I don’t know how to apply it for a neckline cast on in the round. Thank you
Hi Sally,
You are adding one stitch every time you repeat step 4. The new stitches stay on the left needle as you knit off the first 3 stitches, increasing in the 3rd, for each repeat. Hope that helps!
Question: When you repeat step 4, are you adding a stitch on every third stitch or are you only adding a stitch on the last stitch of each row?
Hi Eileen,
The cast on is the same, you just start working in the round, rather than turning to work back and forth. When finishing, you can use the tail to join the i-cord with itself, or even graft it for a completely smooth look. Enjoy!
How would you do this for a circular project like a hat.
Thank you. I ran into this cast on (bottom edge) in a pattern and couldn’t make sense of it the instructions. A step-by-step works so much better than a video for me!
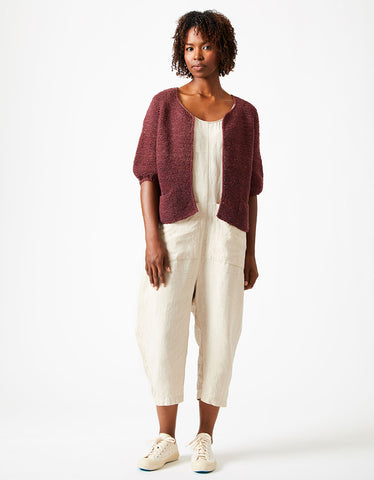
Hi Eileen, Only if you wanted to do some modifications on the neckline as well. In the sweaters that Julie uses this cast-on for, she gives instructions for continuing the I-cord down the fronts of the neckline. Emma doesn’t include these instructions and the long tail cast-on works well. Enjoy your Emma A!
Would this be a good cast on for Emma version A, in bulky yarn?
Leave a Comment