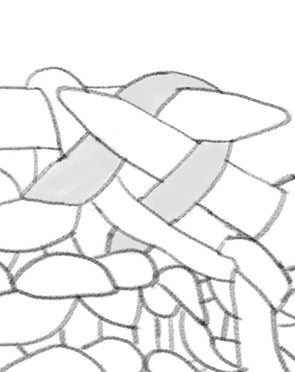
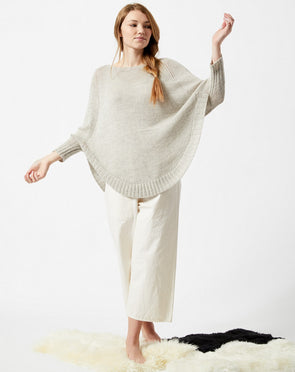
Short-row shaping is literally knitting a “short,” or partial, row before turning and working back in the other direction. It allows you to knit three-dimensional shapes or curved edges. I use it in these patterns to shape necklines and hemlines. There are many methods of knitting short rows, but the Shadow Wrap is by far my favorite. It is not only virtually invisible, but also quite easy to work, once you memorize the steps.
The above video shows Shadow Wrap Short Rows (SWSRs) from the right side and does not have audio, click here for the RS tutorial with audio.
For Shadow Wraps on the wrong side, see WS SWSR with audio and WS SWSR without audio.


Comments
Hi Nomi, Yes, that is correct. For pattern specific questions, the fastest way is to email us at knit@cocoknits.com. Enjoy your Tillie!
Hi. I’m knitting Tillie and working on the Front Neckline Short Row Shaping. Am I understanding correctly that you start and end with the same number of stitches?
Thanks
Hi Christine, No, it means that as you knit your row, you will stop 4 sts before the previous double shadow st and do another Shadow Wrap, then turn and purl back. You don’t hide the shadows until the final instruction in the paragraph, to knit across all the stitches. Please let us know at knit@cocoknits.com if you have any more questions. Enjoy your Leonie!
I am knitting the Leonie pattern and confused understanding the SWSR rows. “Continue in this way working 4 fewer stitches at each pass….”? Does it mean I go up to each shadow stitch do the SWSR and turn?
Hi Mary, No, the shadow and the stitch it shadows are counted as one stitch. They are easy to see because they look like a double stitch. You’ll be knitting them together at some point. Hope that helps!
Hi I am knitting a leonie. I am doing the srsw. When I go back and forth on the rows do I count the shadow stitch as a separate stitch? Thank you
I tried the variation as I suggested, using the PRL on the wrong side. I decided that I preferred the results and have been working them this way on my project. The lean of the increases mirror each other, and it does seem to me to result in a little less bulk.
Hi George, Interesting question! We think It would be into the wrong st—on the wrong side of the short row gap. Try it out and see what happens :)
I have a question about SWSR on WS. Why don’t you just do a PRL (instead of the modified PLL)? The twin stitch would thus be inserted on the inside of each turning stitch (with regard to the zig-zag yarn flow through the short rows). It seems to me that this would yield a better result than the modified PLL, as the strand of yarn would not cross over the back of the stitch. It would mirror the turning stitch made on the RS rather than having the same appearance when viewed from the RS.
But then, a PRL strikes me as the “natural” thing one would do on the WS to complement the KRL on the RS. So whoever first came up with the SWSR must have had a reason for using the modified PLL instead. What am I missing?
Hi Karen, Please email us at knit@cocoknits.com with your question, letting us know which of our patterns you are knitting. We look forward to helping you figure this out!
I have complete 1 round of SWSR. I have knit and done a shadow stitch on an right side, purled back and done a shadow stitch on purl side. I just knitted back to right side shadow stitch. I knitted them together. I am now confused what to do next my pattern says knit 7 and do shadow stitch. Do I do the knit 7 after I did the K2tog and then turn
Thank you for your help
muchas gracias
Hi Sandy,
We’re happy to help. For pattern support, could you send us an email with the specifics at knit@cocoknits.com?
Thanks!
I am beginning the wonderful Little Lamb
My question is, what does “2 I-cord sts on each Front edge….” mean?
Thanks for your help
Leave a Comment