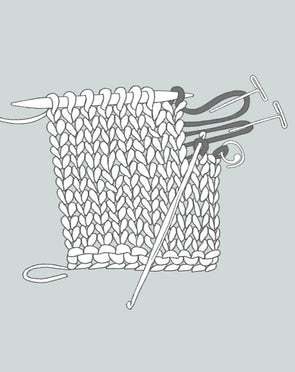
How to Avoid Gaping Buttonholes

If you are familiar with my patterns you have probably noticed that I’m not a fan of buttonholes. I admit I have commitment issues.

I like to keep my options open sometimes wearing a cardigan open, sometimes closed at the waist, sometimes the bust, and I’m always on the lookout for fun new pins and brooches to wear with my creations.

But if you decide after the fact that you don’t want to mess with brooches and you always close the cardi at the same spot anyway – and you really wish that you had just added buttonholes and buttons – never fear, this can be fixed without going back and frogging your cardi!

There are two advantages to adding the closure after you’ve finished knitting. The first is that once you have worn the cardi you will know exactly where you want the closure(s). The second advantage is that you avoid the dreaded Gaping Buttonhole!

Note: Because this method uses snaps, you are committed to always wearing the cardigan “buttoned,” otherwise the snaps will show.

What You Will Need

1

Snaps

The sample in the photos was knit with bulky yarn so I’m using BIG snaps. If you are working with finer yarn, use smaller snaps. You can even use clear plastic snaps for delicate projects.

2

Buttons

You can use whatever size button you want since it won’t have to fit through a buttonhole.

3

Other

You’ll also need a needle, thread, and yarn if you are closing an existing buttonhole.

Directions

1

Step 1

If you already have a buttonhole but it is gaping, the first thing to do is close that gap. Thread some yarn onto a tapestry needle and weave in and out of the stitches surrounding the hole:

I am using contrasting yarn so it is visible; if you have the same yarn used for the cardi, use it, otherwise get as close as possible.

2

Step 2

Now pull the yarn so it closes the gap

3

Step 3

Knot the yarn on the WS and work in the ends

4

Step 4

Sew the button to the Right Front of the cardigan. In the case of a closed buttonhole, you’ll sew it to the cardigan over the buttonhole you just closed. Otherwise, put it wherever you want it!

Use needle and thread to accomplish this, yarn stretches and your button will eventually be dangling! After it is secured with thread you can run your yarn once through the holes just for decoration…or use a contrasting color of yarn for fun.

5

Step 5

Using thread, sew the male part of the snap on the WS of Right Front directly underneath the button

6

Step 6

Do this by coming up through a hole, then straight down through the sweater on the outside of the snap next to that hole (don’t pull the needle all the way through, just the tip!) now turn the needle so that you can angle it up through the next hole. Repeat this all the way around a few times. I use this method because the button usually prevents you from easily running the thread in and out of the holes in the snap.

Now mark for and sew the female snap to the RS of the left front. You’re set!

Comments

Cocoknits

Hi Dottie,

Julie doesn’t tend to use a lot of buttons, so she doesn’t use ribbon to support them, but that is a tried and true method :)


Dottie Layer

I was happy to see this confirmation of using snaps instead of buttonholes. What about adding grosgrain also to stiffen the closure? Have you ever used it for a cardi?


Leave a Comment

Your email address will not be published. Required fields are marked *

Please note, comments must be approved before they are published