Learn how to work a 3-needle bind-off to add a hem to any top-down sweater. Specifically in Cocoknits Method patterns, this technique is used in Renee to create a drawstring casing. Instead of binding off as usual and sewing a hem or two pieces together, learn how to bind off two sets of stitches together to create a hemmed edge.
How to 3-Needle Bind-off
Instructions
Pick up Stitches
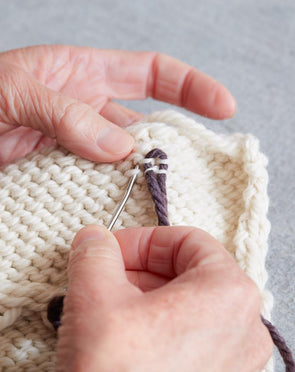
Pick up a row of stitches from a purl row with a skinny needle. Look for the U or smile purl stitch and pick that up (from the top or bottom). Then pick them each up across the entire purl row and treat them like live stitches.
Fold the Hem
Take the live stitches from the bottom of the garment and fold them up. The two needles with stitches on them should now be next to each other ready for binding off.
Work the 3-Needle Bind off (BO)
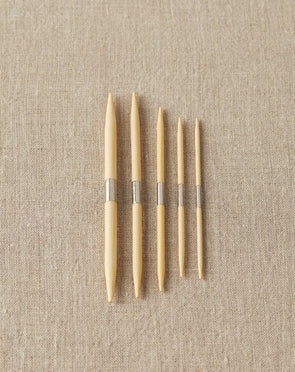
Use working needle for BO. You will essentially knit-2-together, but the 2 stitches are on the front and back needles, instead of next to each other on the same needle. Slip needle into stitch on front needle as if to knit, then slip needle into stitch on back needle as if to knit. Wrap yarn and pull through both stitches and take them both off the needles. (repeat)
When you have two stitches on your working needle (usually right needle), you slip the first stitch over the second. This is your first stitch bound off.
Exposed Hem vs. Hidden Hem
This tutorial video shows the hem exposed, with the seam on the front, as it is designed in the Cocoknits Method pattern Renee. If you would prefer the hem seam on the inside of the garment, then do the same exact thing except work it on the wrong side of your work. That will make the seam show on the back, creating a hidden hem. This can also be used for two sets of live stitches, rather than picking up stitches from a purl row.


Leave a Comment