

When filling the pods with plants, we love having them simply placed at the center of our table, or beautifully styled on a shelf. If you're using them for organizing small items, they're an adorable addition to a desk - but they're also petite enough to fit into drawers. If you plan to have the pods "freestanding" you'll note that there is a bit of a tip at the bottom once you bind off. This is totally normal. To create a more sturdy bottom, simply poke the bottom point up into the pod to flatten the bottom. You may also flatten the bottom while you weave in the end, drawing the point up into the pod and securing.

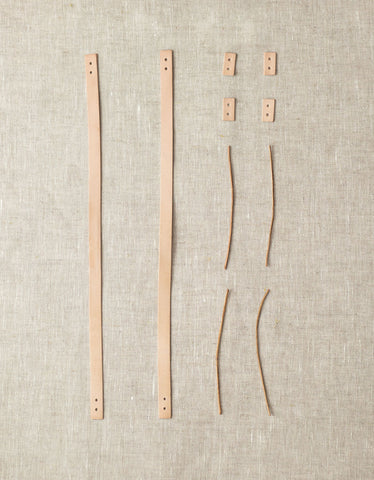
How sweet is this pod as a hanging planter? We simply added our no-sew Leather Handle Kit for a sturdy and chic way to hang. Note that each Leather Handle Kit contains two handles and you only need one per pod - so you should make at least two pods if going with this variation. You could also use twine, some pretty string, or a cord. We like to hang these on our door handles. It adds a special something while entering and exiting a room (we also like the idea of hanging candy in these for a sweet surprise for a guest bedroom, pantry, or during the holidays). They also look great directly hanging from a wall, ceiling, or hook.

Last but certainly not least, create a handful of pods and create a vertical garden wall. Because there is some give to the felt, we think this idea would work best with air plants or faux plants (the dirt may be too heavy to hold). We secured the plants to the back of the pods with a small nail and continued straight through the pod and into our wall. We'd love to see this look with a variety of colors (maybe rainbow-hued) and in a grid formation. It's the perfect touch of greenery for a room that doesn't get enough sunlight, or for those of us who struggle to keep plants alive.
What Skills Do I Need?
The Felted Pod pattern is a $6 download that you can purchase on our website or Ravelry. You may be wondering what skills you need to create these adorable little pods, but they're truly quite simple! If you can knit in the round (you may prefer using Magic Loop with one long circular needle), increase, and decrease - you're in great shape. As for the felting, it's super easy and a great first felting project. Julie provides instructions and tips in the pattern to felt in your washing machine, but a variety of methods could be used.
What Kind of Yarn Should I Use?
For this pattern we recommend any heavy worsted to bulky weight yarn that will felt. A variety of fibers may work, but we use 100% wool fiber for the best results. The pods pictured were knit with We Are Knitters The Petite Wool in Olive.
How Do I Add Plants?
For this tutorial we used faux plants, but you can also use live air plants, succulents, or other mini plants. In order to use with live plants, simply trim the top of a plastic sandwich bag down to size, place it in the pod, and fill with dirt.
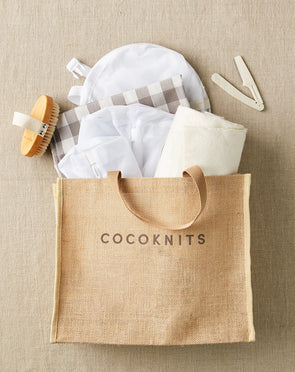
What Cocoknits Tools Organize Well in the Pod?
These pods are perfect for organizing our smaller items. We like to put our Stitch Stoppers, Stitch Markers, Claw Clips, Row Counter, Tapestry Needles, Leather Cord and Needle Stitch Holder, Curved Cable Needles, and T-Pins in them. Now you can beautifully store your knitting notions in plain sight right where you work.


Leave a Comment